How to Install Light Switches and Sockets – A Beginner’s Guide
When it comes to setting up new lights and fittings at home, there is always likely to be some assembly! In many cases, you can ask a trained electrician to help. That is perhaps the safest and most efficient way to install switches and sockets. However, should you ever need to replace or install a light switch or a socket at short notice, it pays to know what to do!
This guide will take you through the general points you need to remember about installing switches and sockets. Soon, you’ll be able to set up your fantastic new lights from our online store like a pro!
Please note – this is only to be used as a general help guide. If you are unsure about how to install and wire switches and sockets yourself, always consult a professional.
Do also make sure to wear appropriate safety gear – such as appropriate gloves – before handling electrics.
Safety Points to Remember

This point may be obvious, but when it comes to electrical work, safety is vital. When tampered with or handled incorrectly, electricity can kill! Therefore, it is crucial to take as much care as you can. Again, if you ever feel unsure about fitting or wiring switches and sockets yourself, consult a local expert.
Before starting your new light switch or socket, you need to switch off the power. That usually means finding the fuse box and circuit breakers. Home lighting will normally align to one or more circuits – and their fuses are generally labelled. You can flick these fuses down to ‘off’, but it may be safer to switch off all the power outright.
You should also ensure the socket or switch you’re working on is completely ‘off’ with testing equipment. You’ll need a voltage tester for lighting and a socket tester for other sockets.
Be sure that no one else is likely to switch the circuit or fuse back on and gently unscrew the existing fitting. You’ll also need to make sure the inside is clear and dusted so that no debris remains.
When it comes to the right tools for the job, you will need a screwdriver at the very least! Check the end you require – a cross or Philips head – and keep wall plugs and screws to hand, too. Depending on what you wish to install, you may need a wire stripper and a hammer action drill.
The great news is that fitting new or replacements sockets/light switches is relatively straightforward. If it is your first time undertaking installation or replacement, rest assured that it’s easier to undertake now than ever before. Socket and switch covers – and wiring kits – you purchase from DIY outlets should also have helpful instructions.
Installing a Light Switch
When installing your new light switch, it is essential to familiarise yourself with its inner working. You are likely to come across a faceplate (the plastic outer) and a metal inner, called a mounting box. That’s the standard for plastic light switches. In metal switches, it’s a little different – we’ll come to this shortly.
A note – this guide covers replacing/refitting a simple light fitting. Others, such as double switches, will need a little extra guidance!
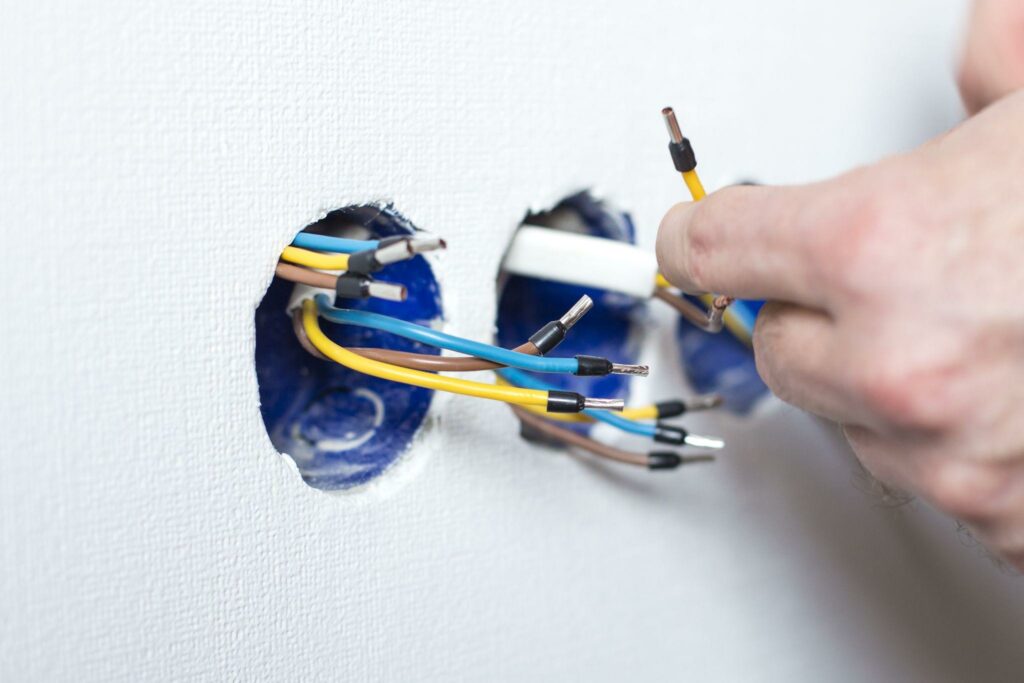
Remove the existing faceplate, which should be attached with a couple of simple screws. Keep the screws to one side. A great tip here is to take a quick photo of your wiring. That way, you’ll know exactly how it all fits back together when all is said and done.
On the back of your switch, you will need to unscrew further – this will give you access to the wires. You’ll now be able to remove your old fitting or faceplate. Carefully reattach and tighten the wires to your new switch in much the same as your previous fitting.
However, if you’re moving to a metal light switch, you’ll need to earth your wires. This is important so that you don’t receive electric shocks! Earthing protects you by sending faulty currents ‘back to earth’. It’s a safety measure that is crucial for wiring and fitting any electrical unit.
Let’s come back to this idea of the metal inner. Your earth wire is green and yellow, and in a plastic switch, it’ll attach to a metal inner. There’s no such inner with a metal switch. In a metal light switch, you’ll need to make sure that your earth core attaches to your faceplate.
Keeping an eye on your photo of the wiring set up, carefully unscrew the wires from your existing setup. Remove your earth core and attach it to the new faceplate. Then, replace the wires in the previous fashion, too, on the new faceplate.
If you don’t see an earth wire at all, or you’re not sure of how to attempt this step, make sure to contact an electrician.
When all your wires are attached to the new faceplate and switch, secure everything back and power on to test.
Can I Convert a Light Switch?
You may prefer to change your single switch over to something a little more convenient. For example, some light fittings will arrive with dimmer capabilities. In other cases, you may wish to set up a motion sensor. You may even want to move to a double or multi-switch (such as our Studio Range 4 Gang Dolly).

Converting to any of these alternative options is perfectly viable. However, they will require a little more work on your part. Alternatively, it is always worth contacting a professional electrician to help you.
With multi-switches, you will need to remember that you need to replace your original single fitting outright. You’ll need a two-way switch at least – and you’re going to need a three-core-earth cable to connect both switches in the unit. Multi-switches can be tricky and even dangerous to set up, so do make sure to take exceptional care. Again, these types of switches may do best with professional support.
Dimmer switches are a little easier to handle. These come in a variety of different shapes and styles, but the concept is very much the same. Once you’ve disconnected all of your original wires, you will need to connect the ground wires in your dimmer. To do this, you’ll ideally need a wire nut to cap and connect them to green or bare wires in the box itself.
You should then tighten up your dimmer and keep a close eye on any instructions provided. Replacing a dimmer with a standard is just as simple, but again, it pays to follow any specific instructions you receive.
With motion sensors, you’ll always need to make sure you have a neutral wire in your existing fitting. Generally, this is black or blue and connects up just as you’d expect with a general switch. Follow the procedure we’ve listed above, and take your time!
Converting a light switch isn’t as difficult as it may seem at first. As mentioned earlier, home wiring has come a long way!
Getting Started with Sockets
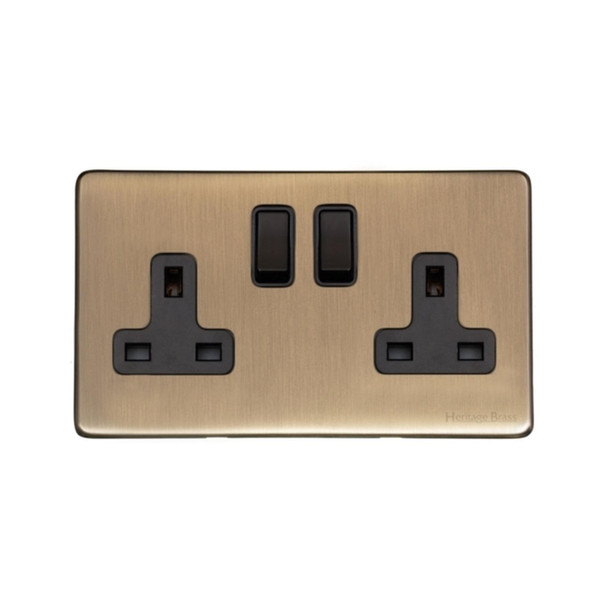
In many ways, installing a simple power socket is a lot simpler than installing a light switch! Replacing or installing new sockets is simply a case of deciding which option you prefer – flush-mounted or surface mounted. Sockets such as our Vintage Range Double are easy to set up and get started with.

The simple difference between flush-mounted sockets and surface mounted sockets is there fixing to the wall. A flush-mounted socket is – as you’d expect – flush with the wall, which means it’s ‘built in’ to give a flat appearance. A surface mounted socket juts out a little and tends to be more common.
There are pros and cons for both. Surface-mounted sockets tend to be much easier to handle and install. However, they don’t look at stylish as flush-mounted options! With a flush-mounted socket, you will often need to dig a small recess in the wall’s plaster to slide in. It’s entirely possible to swap between the two if you wish, too.
As with installing a light switch, you should always make sure that the power is off. At least, you should make sure that the circuit or fuse for your socket(s) is switched down or off. For absolute safety, it makes sense to switch off the whole circuit. This is unlikely to be a job that will take you long, so you won’t have to power everything off for hours.
Do always make sure to test the circuit with a socket tester once powered down. This is to ensure that the circuit isn’t live and that you can go ahead and make adjustments.
Do also make sure to have earth sleeving – green and yellow – to hand if there is any bare wiring inside. It’s vital that you sleeve this to avoid any chance of electric shock.
You should look for any existing piping or cabling in your walls. Drilling into these by accident is never a good idea!
For surface mounting, you will need a spirit level, wall plugs, a pencil, and a drill at least. It helps to have a hammer to hand, too!
Installing Your Socket
Again, let’s start with surface mounting. With an existing surface mounted socket, you’ll need to unscrew your socket faceplate and remove the cable connections inside. Grab your new socket box and feed the cables into and through the connections. Screw and fit the new faceplate in place, and install wall plugs if necessary.
If you fit an entirely new socket, you’ll need to mark the screw points on the wall carefully. Use a pencil and the new socket faceplate as a template. Always check there’s nothing behind where you wish to screw in your new socket!
Drill holes for your wall plugs and hammer them into position. Carefully cut through the cable entry on your new socket box. Then, fasten your box to the wall with screws into the plugs.
If you are directing cable into your socket from a long distance, be sure to install trunking. This will help to keep your cabling flush to the wall. This can be measured, cut to fit and fixed to your wall, with your cabling fed through. There will also be a cover you can clip onto your trunking too.
Feed your cabling to the connection points in the box, following instructions offered in your manual.
With flush fittings, you’re going to need to attack the plasterwork. That means you’ll need to drill into the wall to go deeper than your box, creating an outline. Ideally, you’ll have a template of some kind with your new socket too.
You’ll need to carefully break the plaster away within your guidelines and to the depth required. This is going to mean using a hammer and scraping out the area – so take care! From here, you can drill and plug as with surface mounting. Feed-in your cabling to the connections and test.
You may find that you have a stud wall where you wish to install your new socket. If this is so, or if you are unsure, you will need to consult a professional installer.
Conclusion
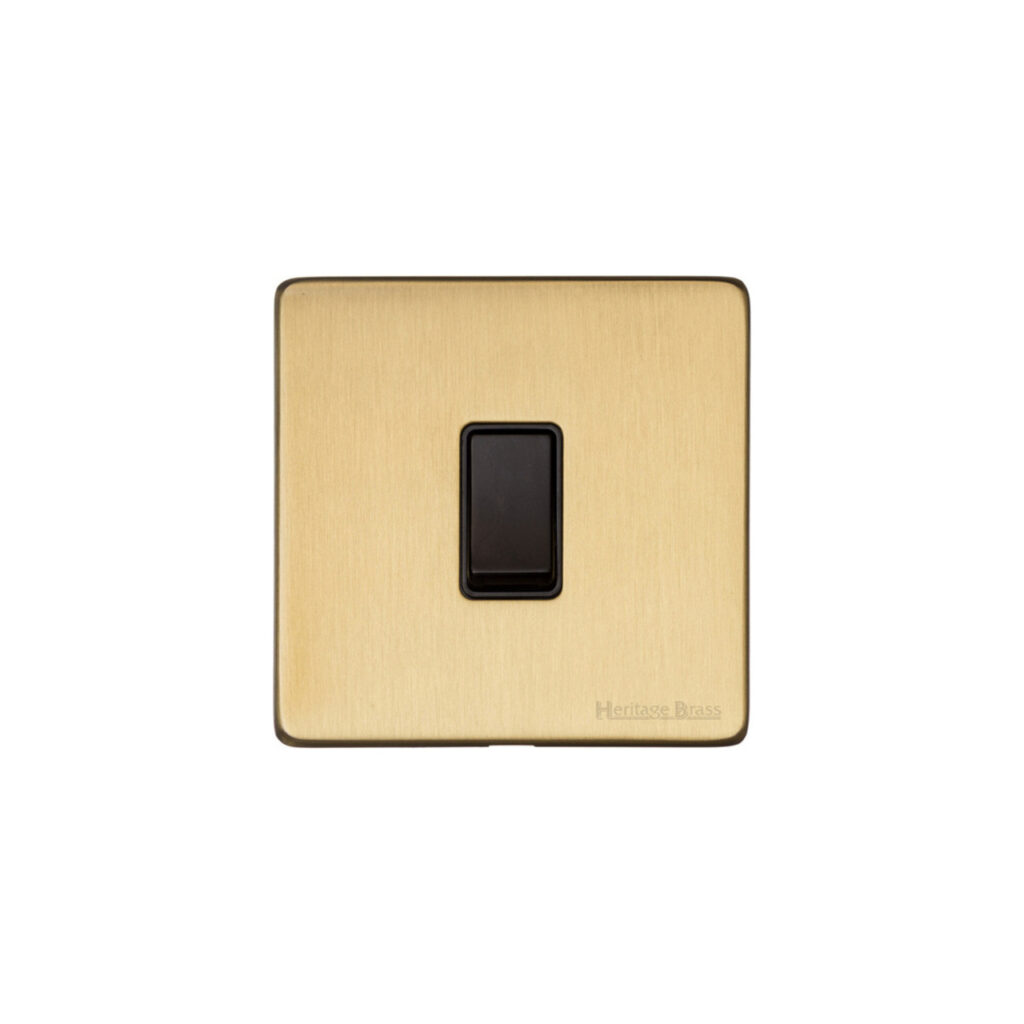
Switches and sockets come in all shapes, sizes and styles. Whether it’s an intermediate switch (such as our Vintage Range 1 Gang in Satin Brass with Black Trim) or otherwise, we can help. We make sure to provide excellent quality switches and sockets with clear instructions to help you on your way.

It’s never been easier to get set up with a modern, aesthetically pleasing set of sockets and switches. Whether replacing or installing from scratch, it’s entirely possible to tackle it all on your own. However, if you don’t feel comfortable or confident, call an electrician who can help you set things up!
Recent Posts
-
One Light, Every Mood: How CCT Colour-Changeable Flush Lights Are Replacing Multiple Fittings in 2026
In 2026, lighting is no longer a fixed decision you live with for years. Homes are more flexible, s …2nd Feb 2026 -
The Quiet Revolution in Ceilings: A New Way to Think About Downlighting
There’s a soft shift happening above us. Not in the architecture of walls or floors, but in the oft …21st Jan 2026 -
The Ultimate Guide to Switches and Sockets for Every Room
How to make stylish, sensible choices that work with your lifestyle and elevate your interiors. I …13th Jan 2026


